Firmware update released for the First Generation XTREME & XTREME Plus devices.
Click here to read about all the new features and enhancements in the firmware update.
Quick Summary:
- Upgraded Android 4.4 to Android 5.1.1
- Removed Ubuntu
- Added LightBiz OS Desktop mode functionality in Android
- XMEDEX FOTA System updates with push notifications
- XMEDEX App Store
- New XMEDEX File Manager / Network Shared Media access
- Re-designed XTREME METRO UI Launcher
- Fixed Homescreen Weather Widget
- XMedia Center (Kodi for Rockchip/XMEDEX) updated to v16.1 with auto frame rate switching, bug fixes, external player support & improved RK hardware decoding
- Added advanced settings management
- Multi Window Mode
- 10bit Video & HD Audio fix
- RockChip GPU Updates
- Latest RK Patches
How to Update:
As we are migrating to a new version of Android, aswell as removing the Ubuntu (dual boot) OS – you must use the PC Flash method for this upgrade. Future updates will be done internally via the XMEDEX FOTA System Update app (the same way you would update your mobile phone).
Step 1:
Step 2:
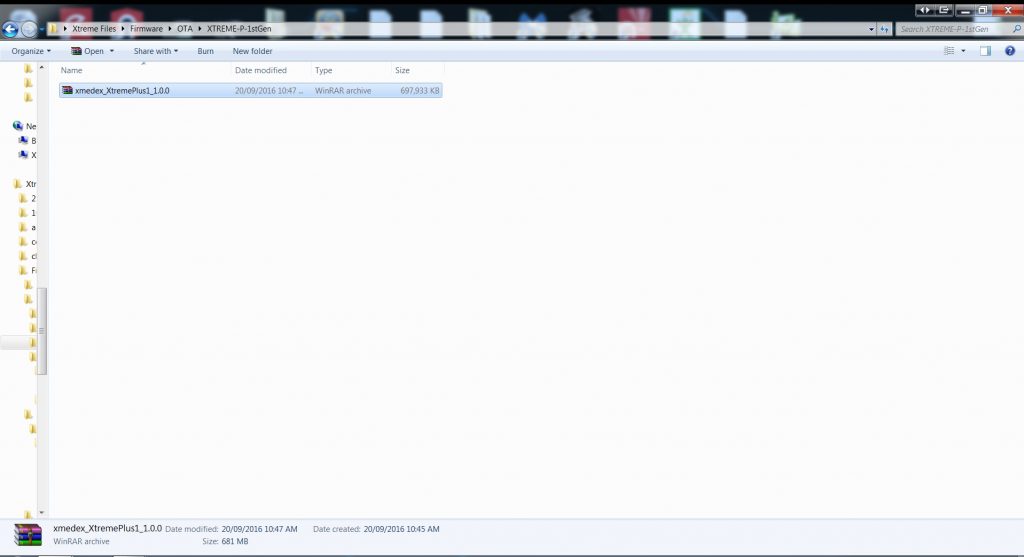
Locate the downloaded file
Step 3:
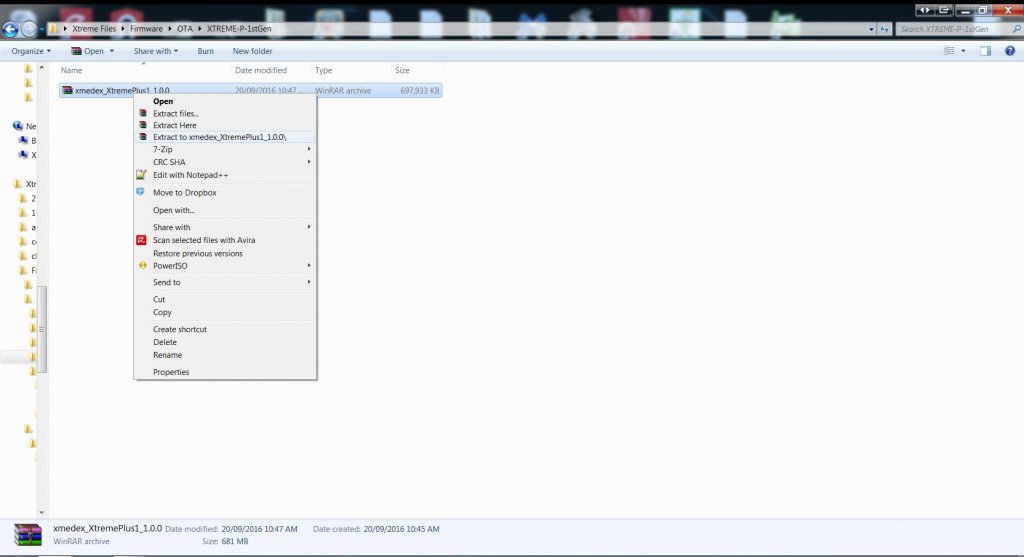
Right Click on the file, and press the “Extract” button. (If you don’t have the “Extract” Option, please download WinZip or WinRar)
Step 4:
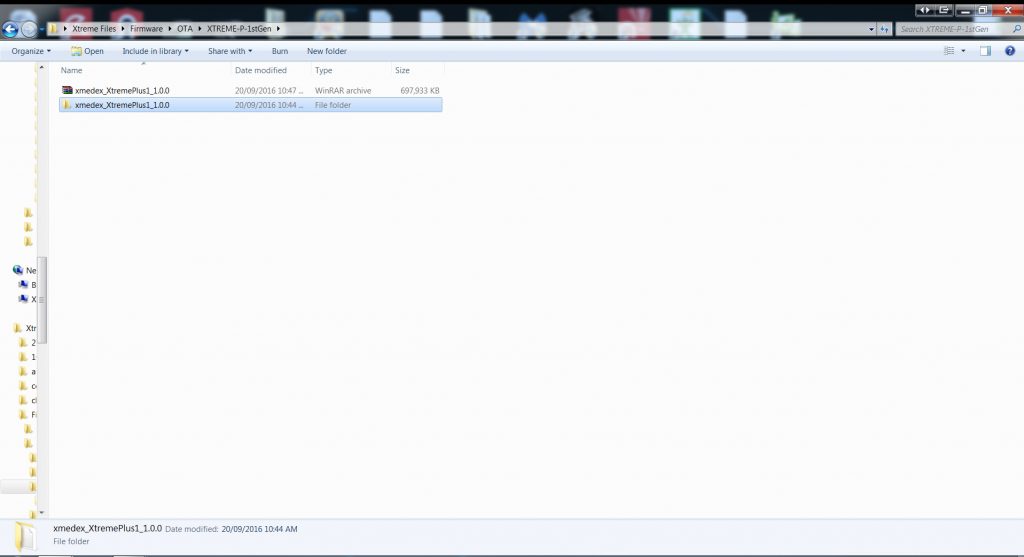
Open the newly generated folder
Step 5:
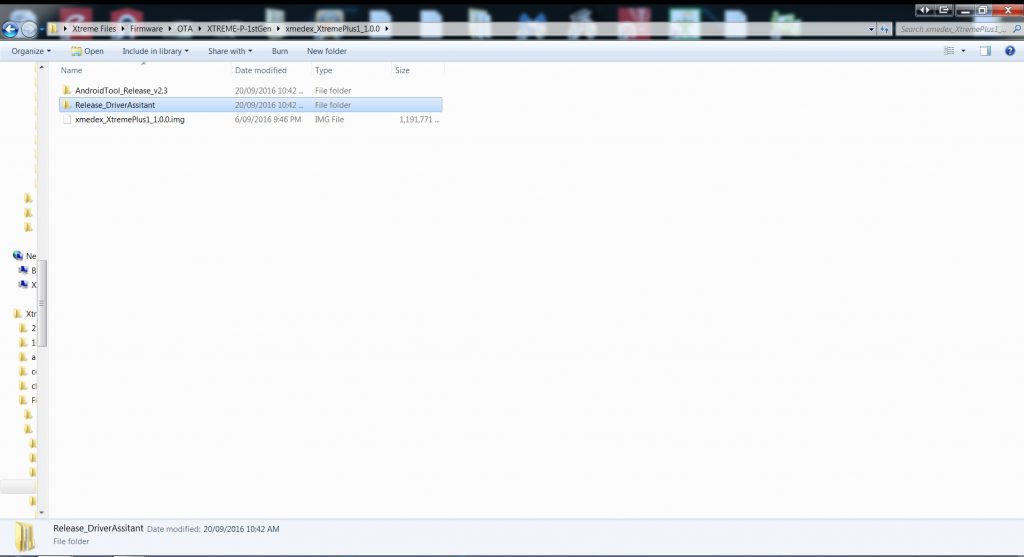
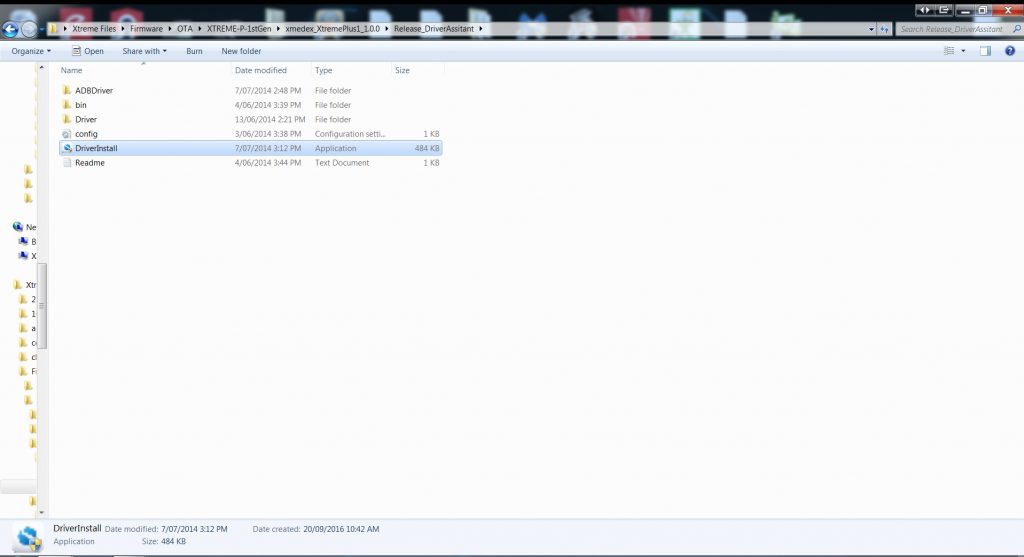
Open the “Release_DriverAssistant” folder
Step 6:
Double click on the “DriverInstall” file (you may need to ‘Run as Administrator”). This is to install the device drivers, in order for your PC to detect the XTREME.
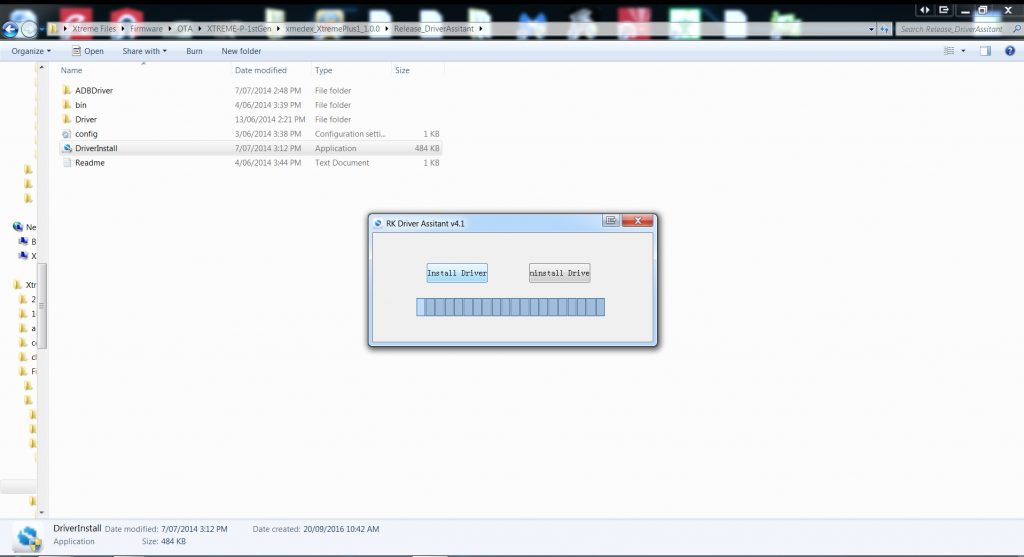
Step 7:
Click on the “Install Driver” button
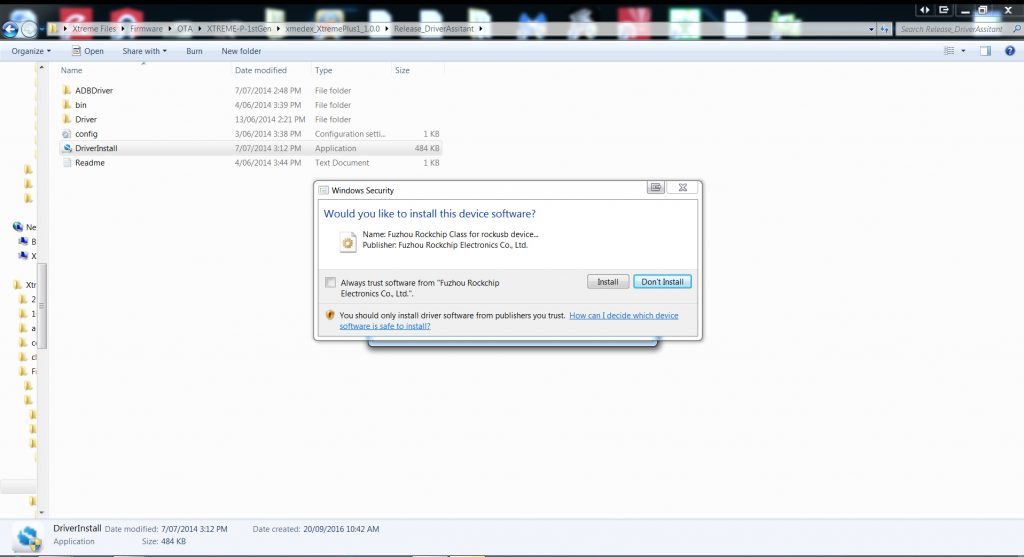
Step 8:
Click on “Install”
Step 9:
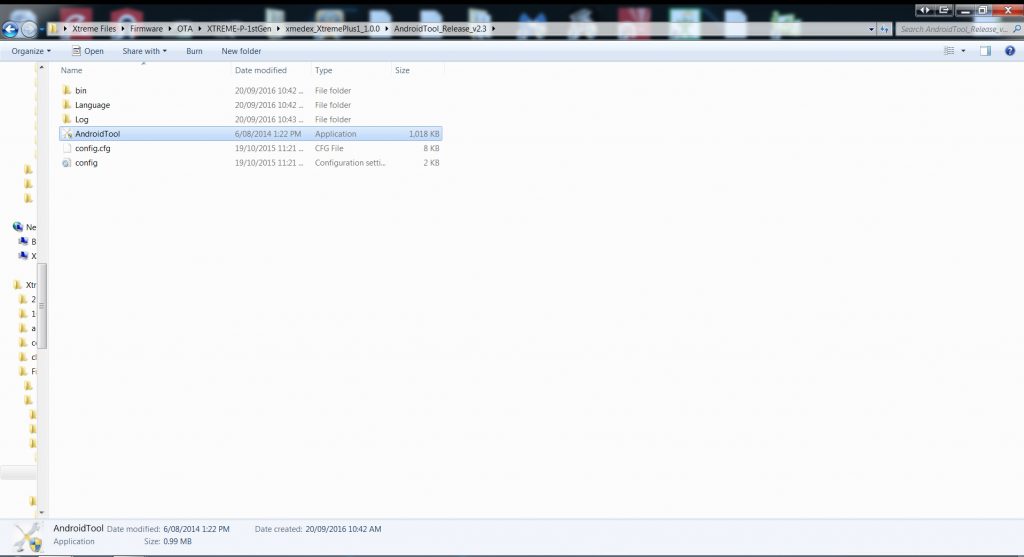
Go back to the previous folder, and open the “AndroidTool_Release_v2.3” folder
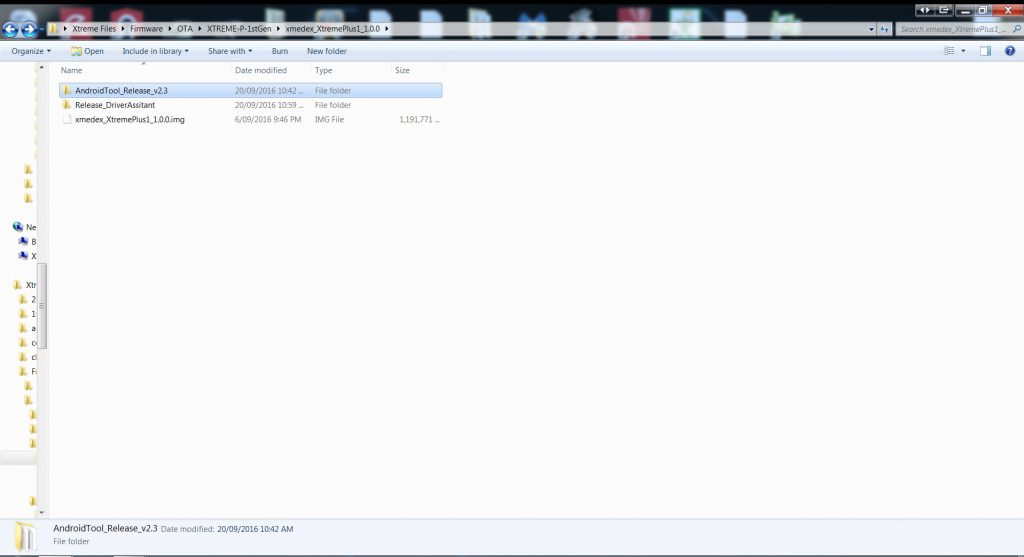
Step 10:
Double click on the “AndroidTool” application
Step 11:
Now its time to connect your XTREME to your PC. Please watch the short video clip below – it is very important that you do this part correctly.
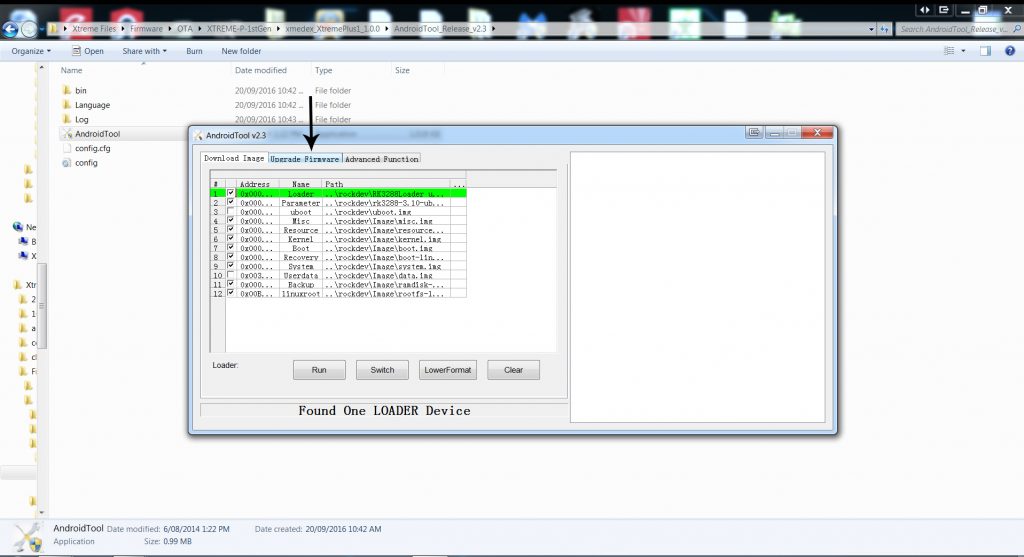
Step 12:
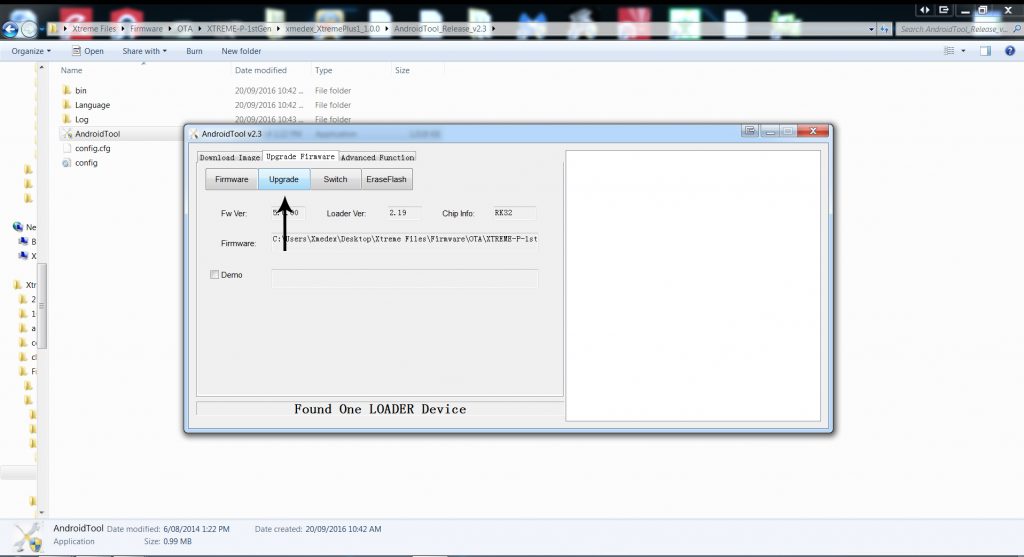
After successfully connecting the XTREME to your PC (as shown in the video above), the program will now say “Found One LOADER Device”.
The next step is to click on the “Upgrade Firmware” tab.
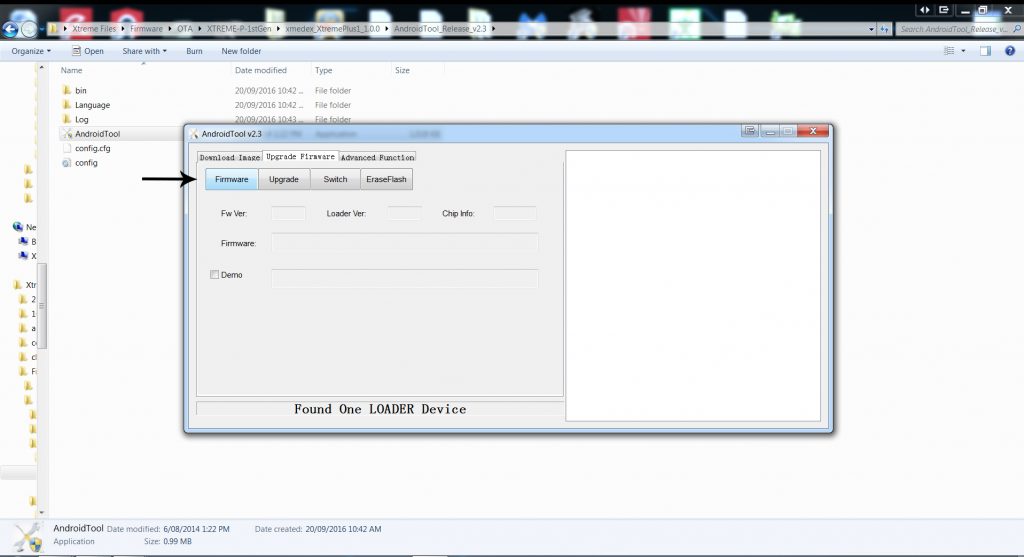
Step 13:
Click on the “Firmware” button
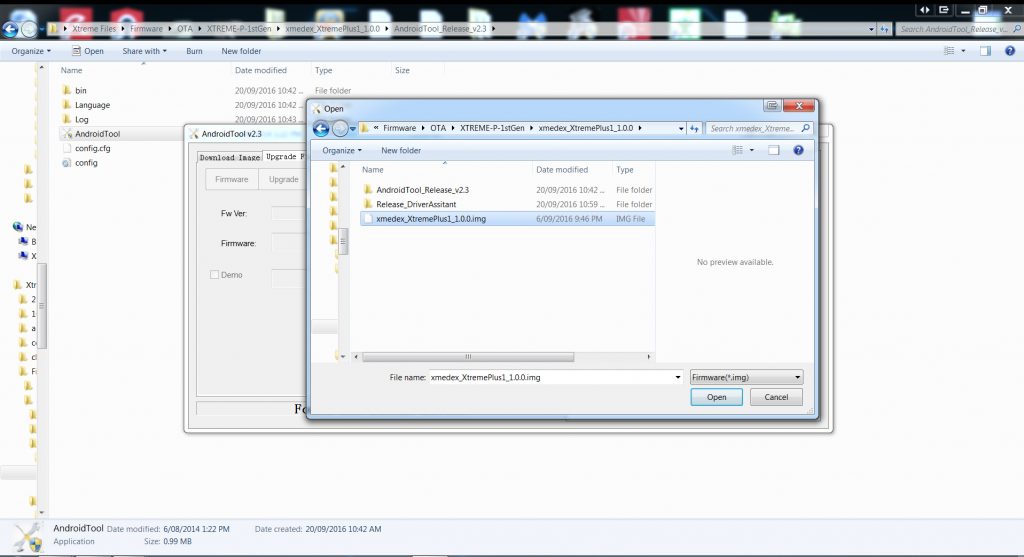
Step 14:
Browse to the folder that contains the firmware, then double click on the “xmedex_XtremePlus1_1.0.0.img” file
Step 15:
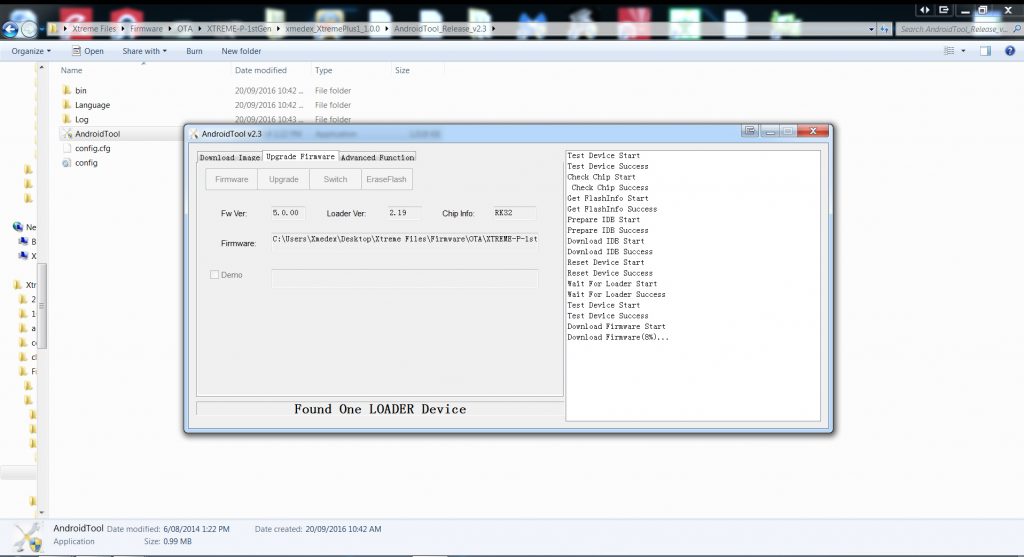
Click on the “Upgrade” button to initiate the firmware upgrade. Please note: You must not disconnect the power from the device or remove the USB cable during this process.
You will see the progress of the upgrade process on the right hand side
When the last message displayed is “Reset Device Success”, this means that the process has been completed. Congrats!
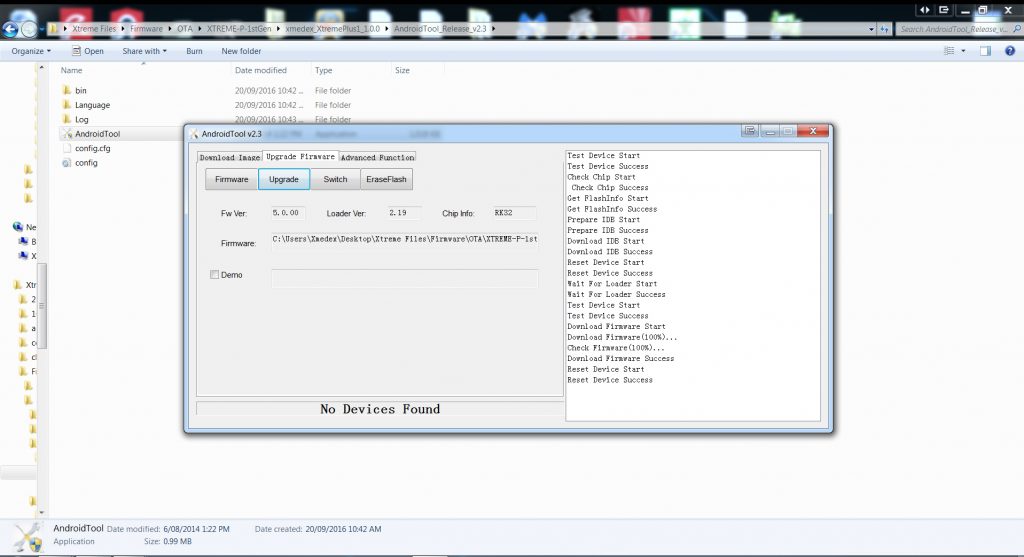
You can now remove the USB cable and disconnect the device from your PC. When you turn the device ON the first time after the upgrade, it may take a few minutes to boot (longer than usual). You’re now ready to rock and roll!